Quickly connect your Strava account and, once enabled, all supported data from your Strava activities (going forward) is automatically transferred to your CrowdChange Activity Tracker.
Starting May 1, you’ll be able to connect your Strava account and track your activity. Until then, the Activity Tracker options won’t appear in your CrowdChange settings.
We’ll send a reminder email the day before the challenge begins, so you can link your Strava account and begin tracking your activity on May 1.
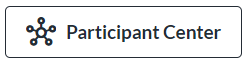
In CrowdChange, go to your Participant Center by selecting the button at the top of your screen.
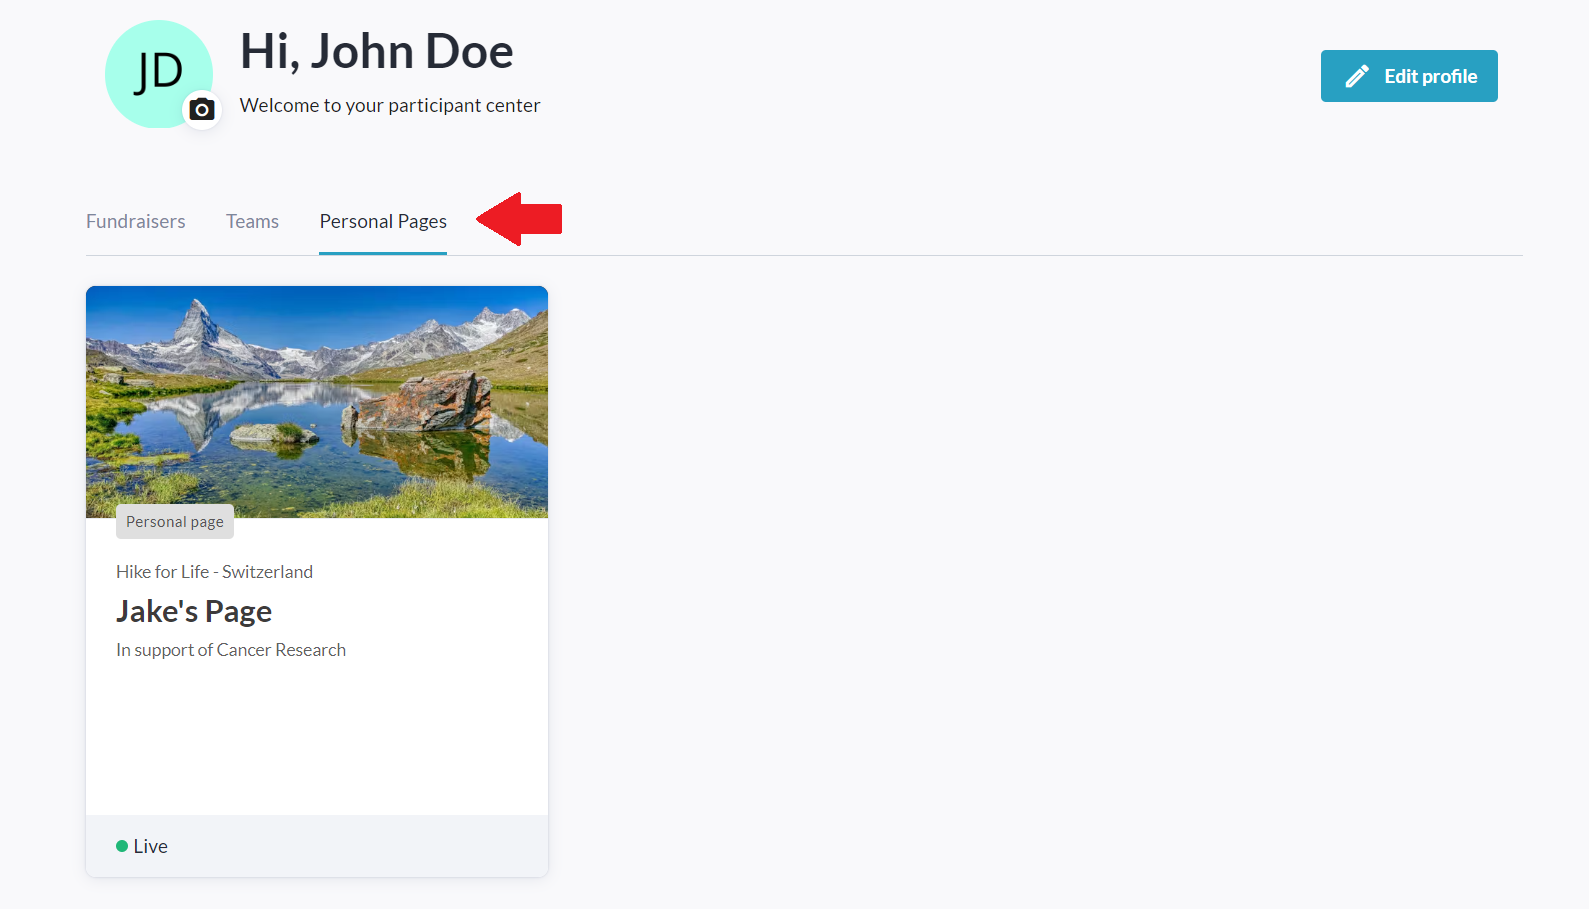
Select the Personal Pages tab under your name.
Select your specific personal page tile.
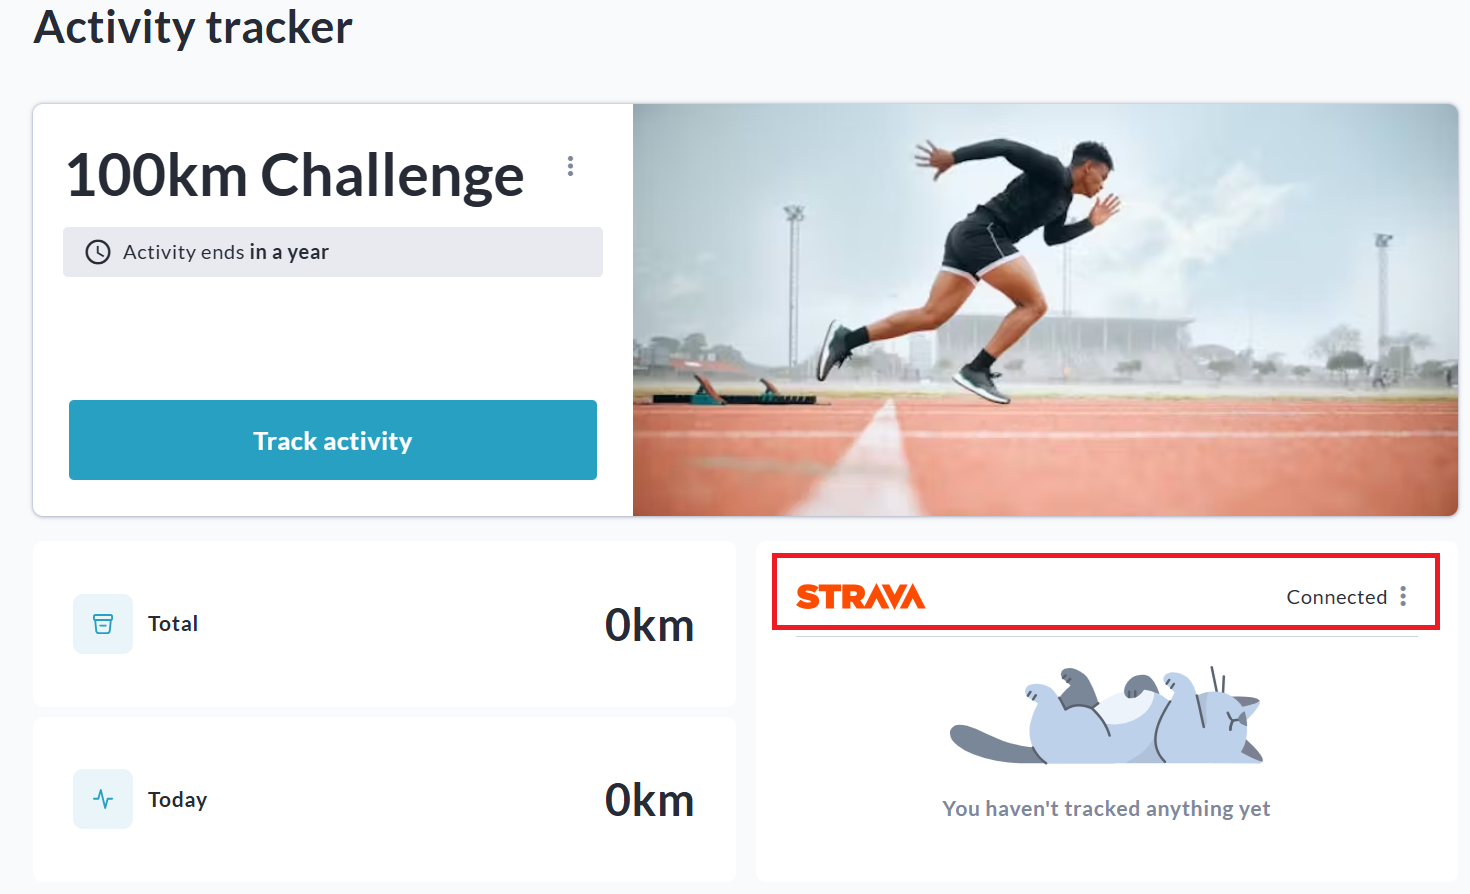
Scroll down to the Activity Tracker section (Your Current Activity will be shown) and select Manage Activity.
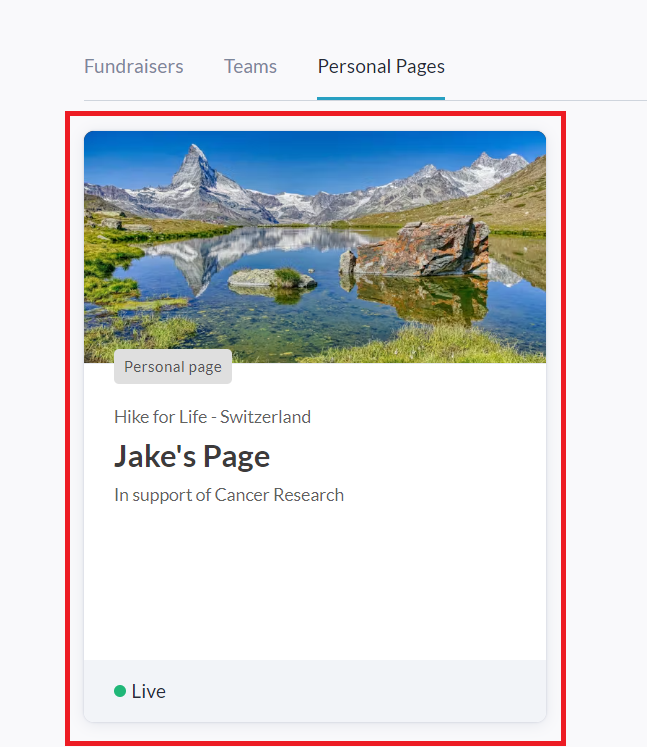
On your Activity Tracker Dashboard, select Connect with Strava.
You will be redirected to Strava’s website to log into your Strava account.
Allow CrowdChange to connect with your Strava account.
Select Authorize and you will be redirected back to CrowdChange showing your activity tracker connected.
Once successfully connected, recorded activity with Strava is automatically transferred to your CrowdChange Activity Tracker.
Here is some additional information and step-by-step instructions to help you get set up and get familiar with the different features available to you during the activity challenge.
After registering, easily access your personal and team pages by selecting Participant Center on the top of the website.
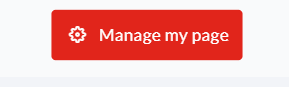
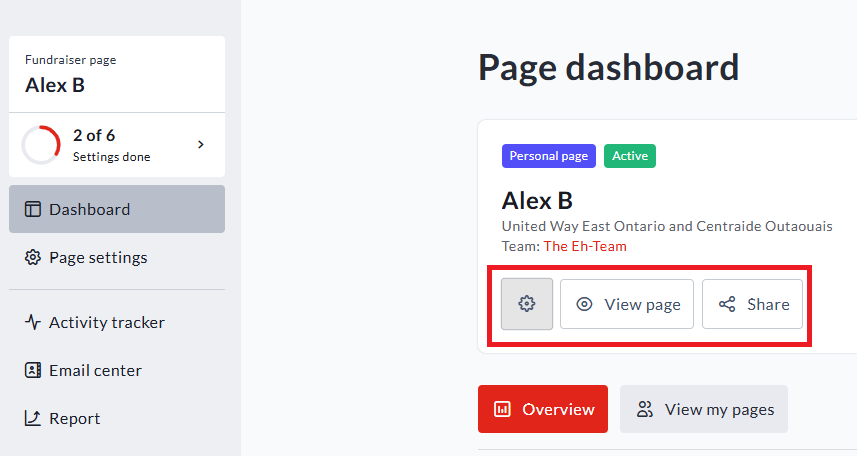
Select the red Manage my page button on the top right of your page.
Select View page to visit your page.
Select Share to send your page to friends and family.
Select the Gear to edit or customize your page.
Remember to bookmark your page so you can come back to it easily!
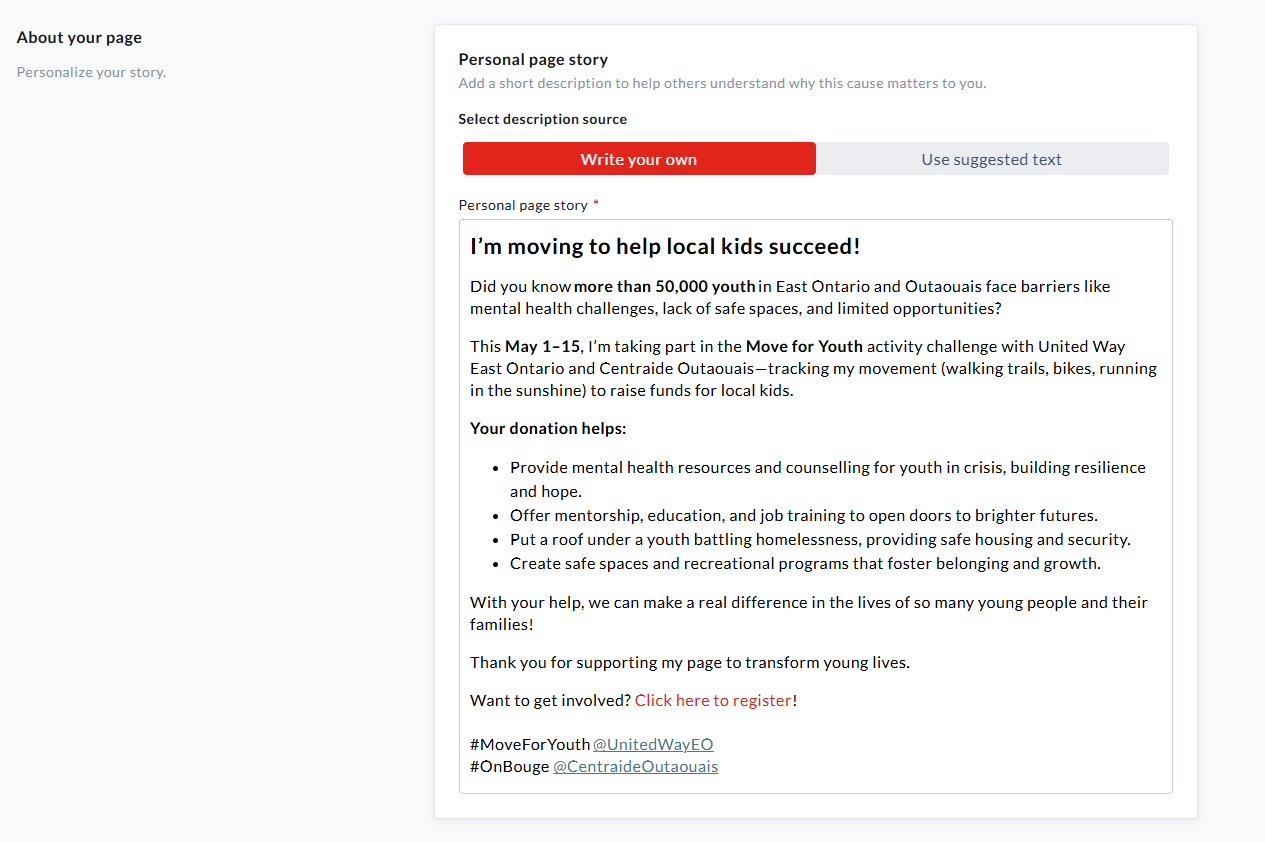
After selecting the Gear, scroll down to edit or customize your bio.
Use our suggested bio or write your own story on why Moving for Youth is important or special to you.
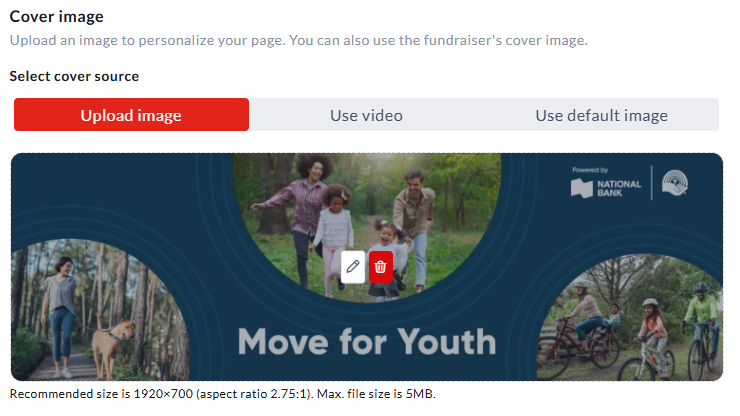
Scroll further down the page to upload your own cover image or video.
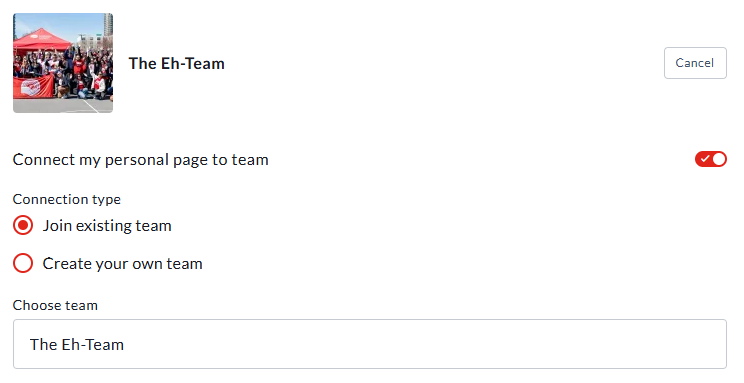
Just below you can see your team information. From here you can join a team or even create a new one from scratch.
Select Save, and you’ve updated your page easily in under a minute!
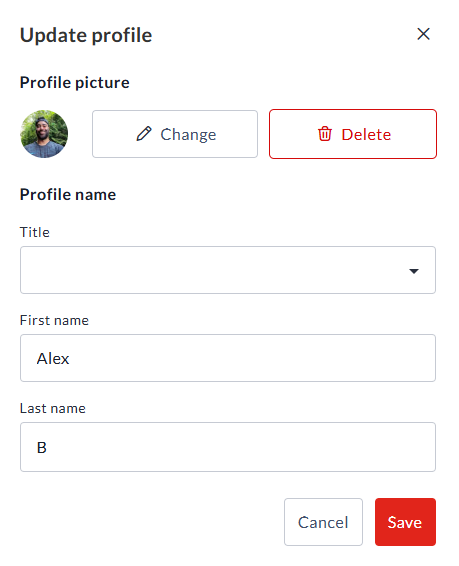
Change your profile photo
Just above the red Manage my page button, select your name and email and then choose Profile from the dropdown menu.
Select Edit next to your name.
Add a picture and edit your profile information.
Select Save to apply your changes.
If you are a captain, you can follow the same instructions on your team page.
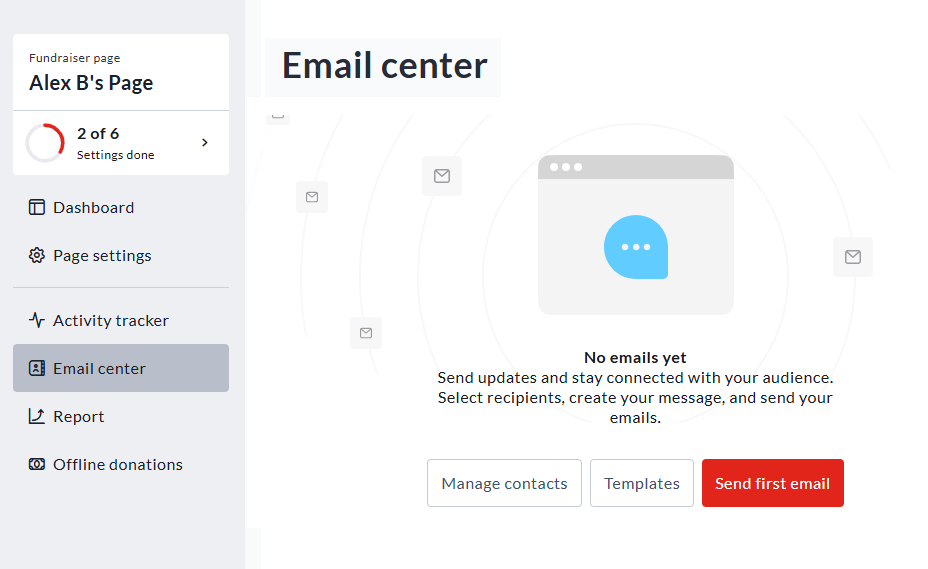
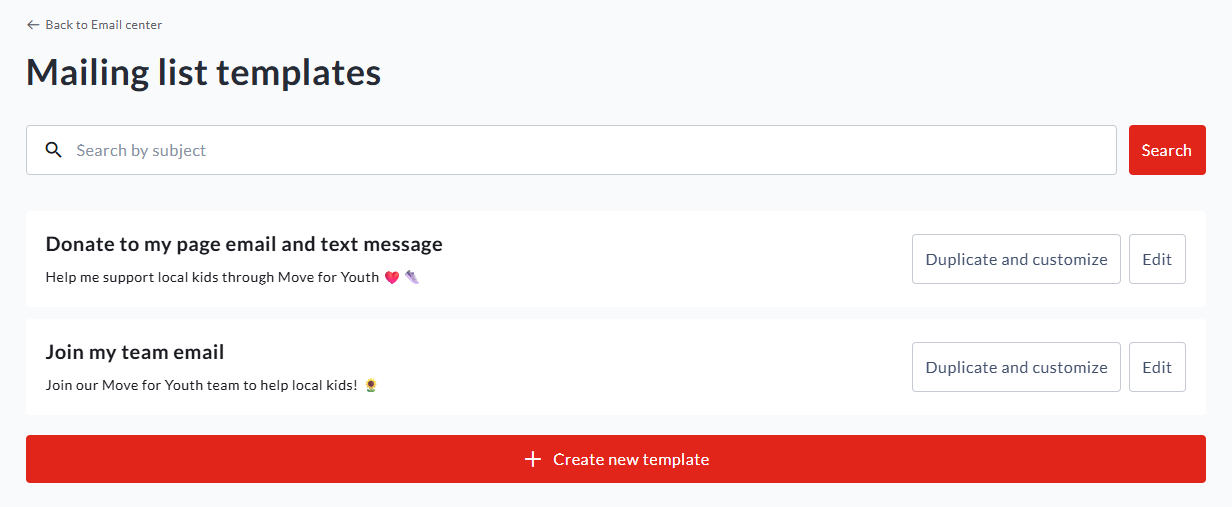
Email Center
Select Email Center to email contacts directly to either donate or join the challenge.
Select Manage Contacts to add your contacts and their email addresses. You can do this manually or by uploading a CSV file.
Select Templates to see pre-written emails.
Select Send first email to invite people in your life to support you or join your team directly through the platform.
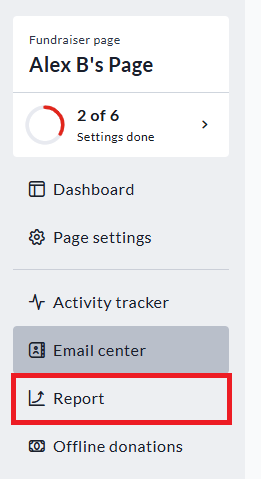
Download Reports
Select Report for important information like fundraising totals, number of donations and a record of all donations listed.
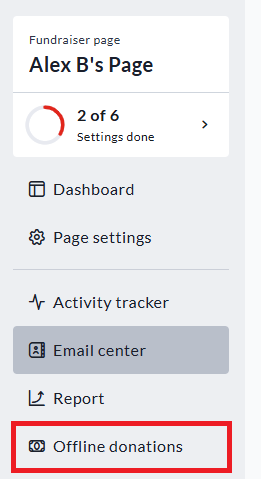
Offline Donations
Select Offline donations to track funds collected the traditional way.
Kindly drop off any cash contributions by Tuesday, May 19 during business hours at:
United Way East Ontario 363 Coventry Road Ottawa, ON K1K 2C5
Activity Tracker
As a reminder, your Activity Tracker will not be visible until May 1. Once May begins you will be able to access your tracker here at any time during the challenge.